Containment Systems
The Containment Answer has been providing the western Canadian oil and gas industry with high quality and cost effective secondary containment for more than two decades.

Our systems
Product Details
Determining the amount of volume required for your containment system is calculated by the size and number of storage tanks within the containment area. As well as the region you are in. Each province has its own regulations for above ground storage systems, however, they all use similar calculations.
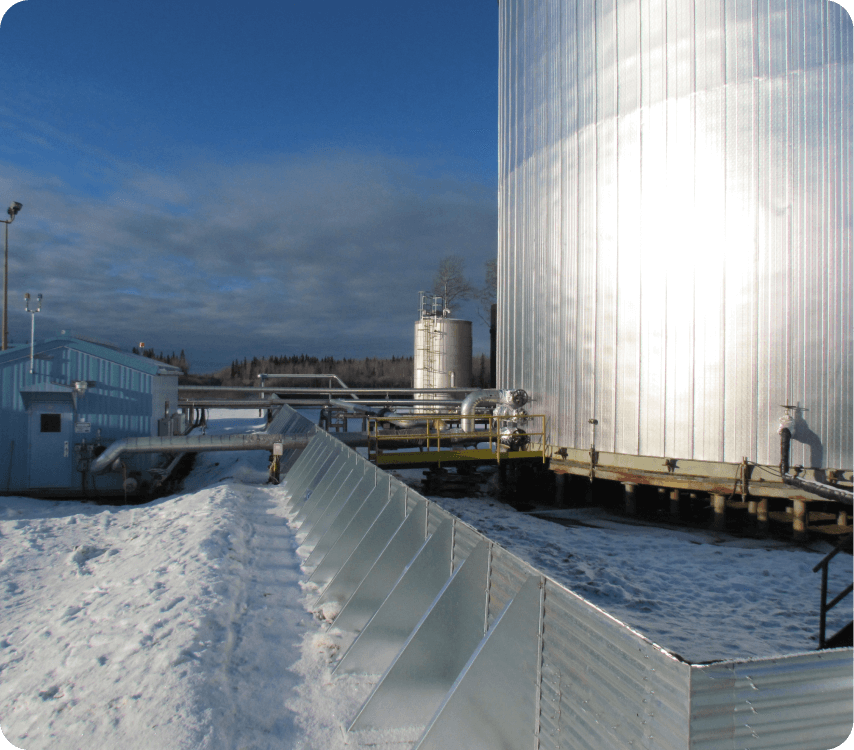
Our zero ground disturbance secondary containment systems can be built to accommodate any number of storage tanks, the customizable size and shapes means you get exactly the right amount of spill protection.
Each containment system is available in one of 4 standardized shapes. In some cases, custom shapes will be required to fit the containment within a specific space or footprint.
Round Systems: A round containment system requires no braces. The curvature of the wall panel provides the required support to maintain its structural integrity in the event of a spill. Round systems are most often used in single tank systems.
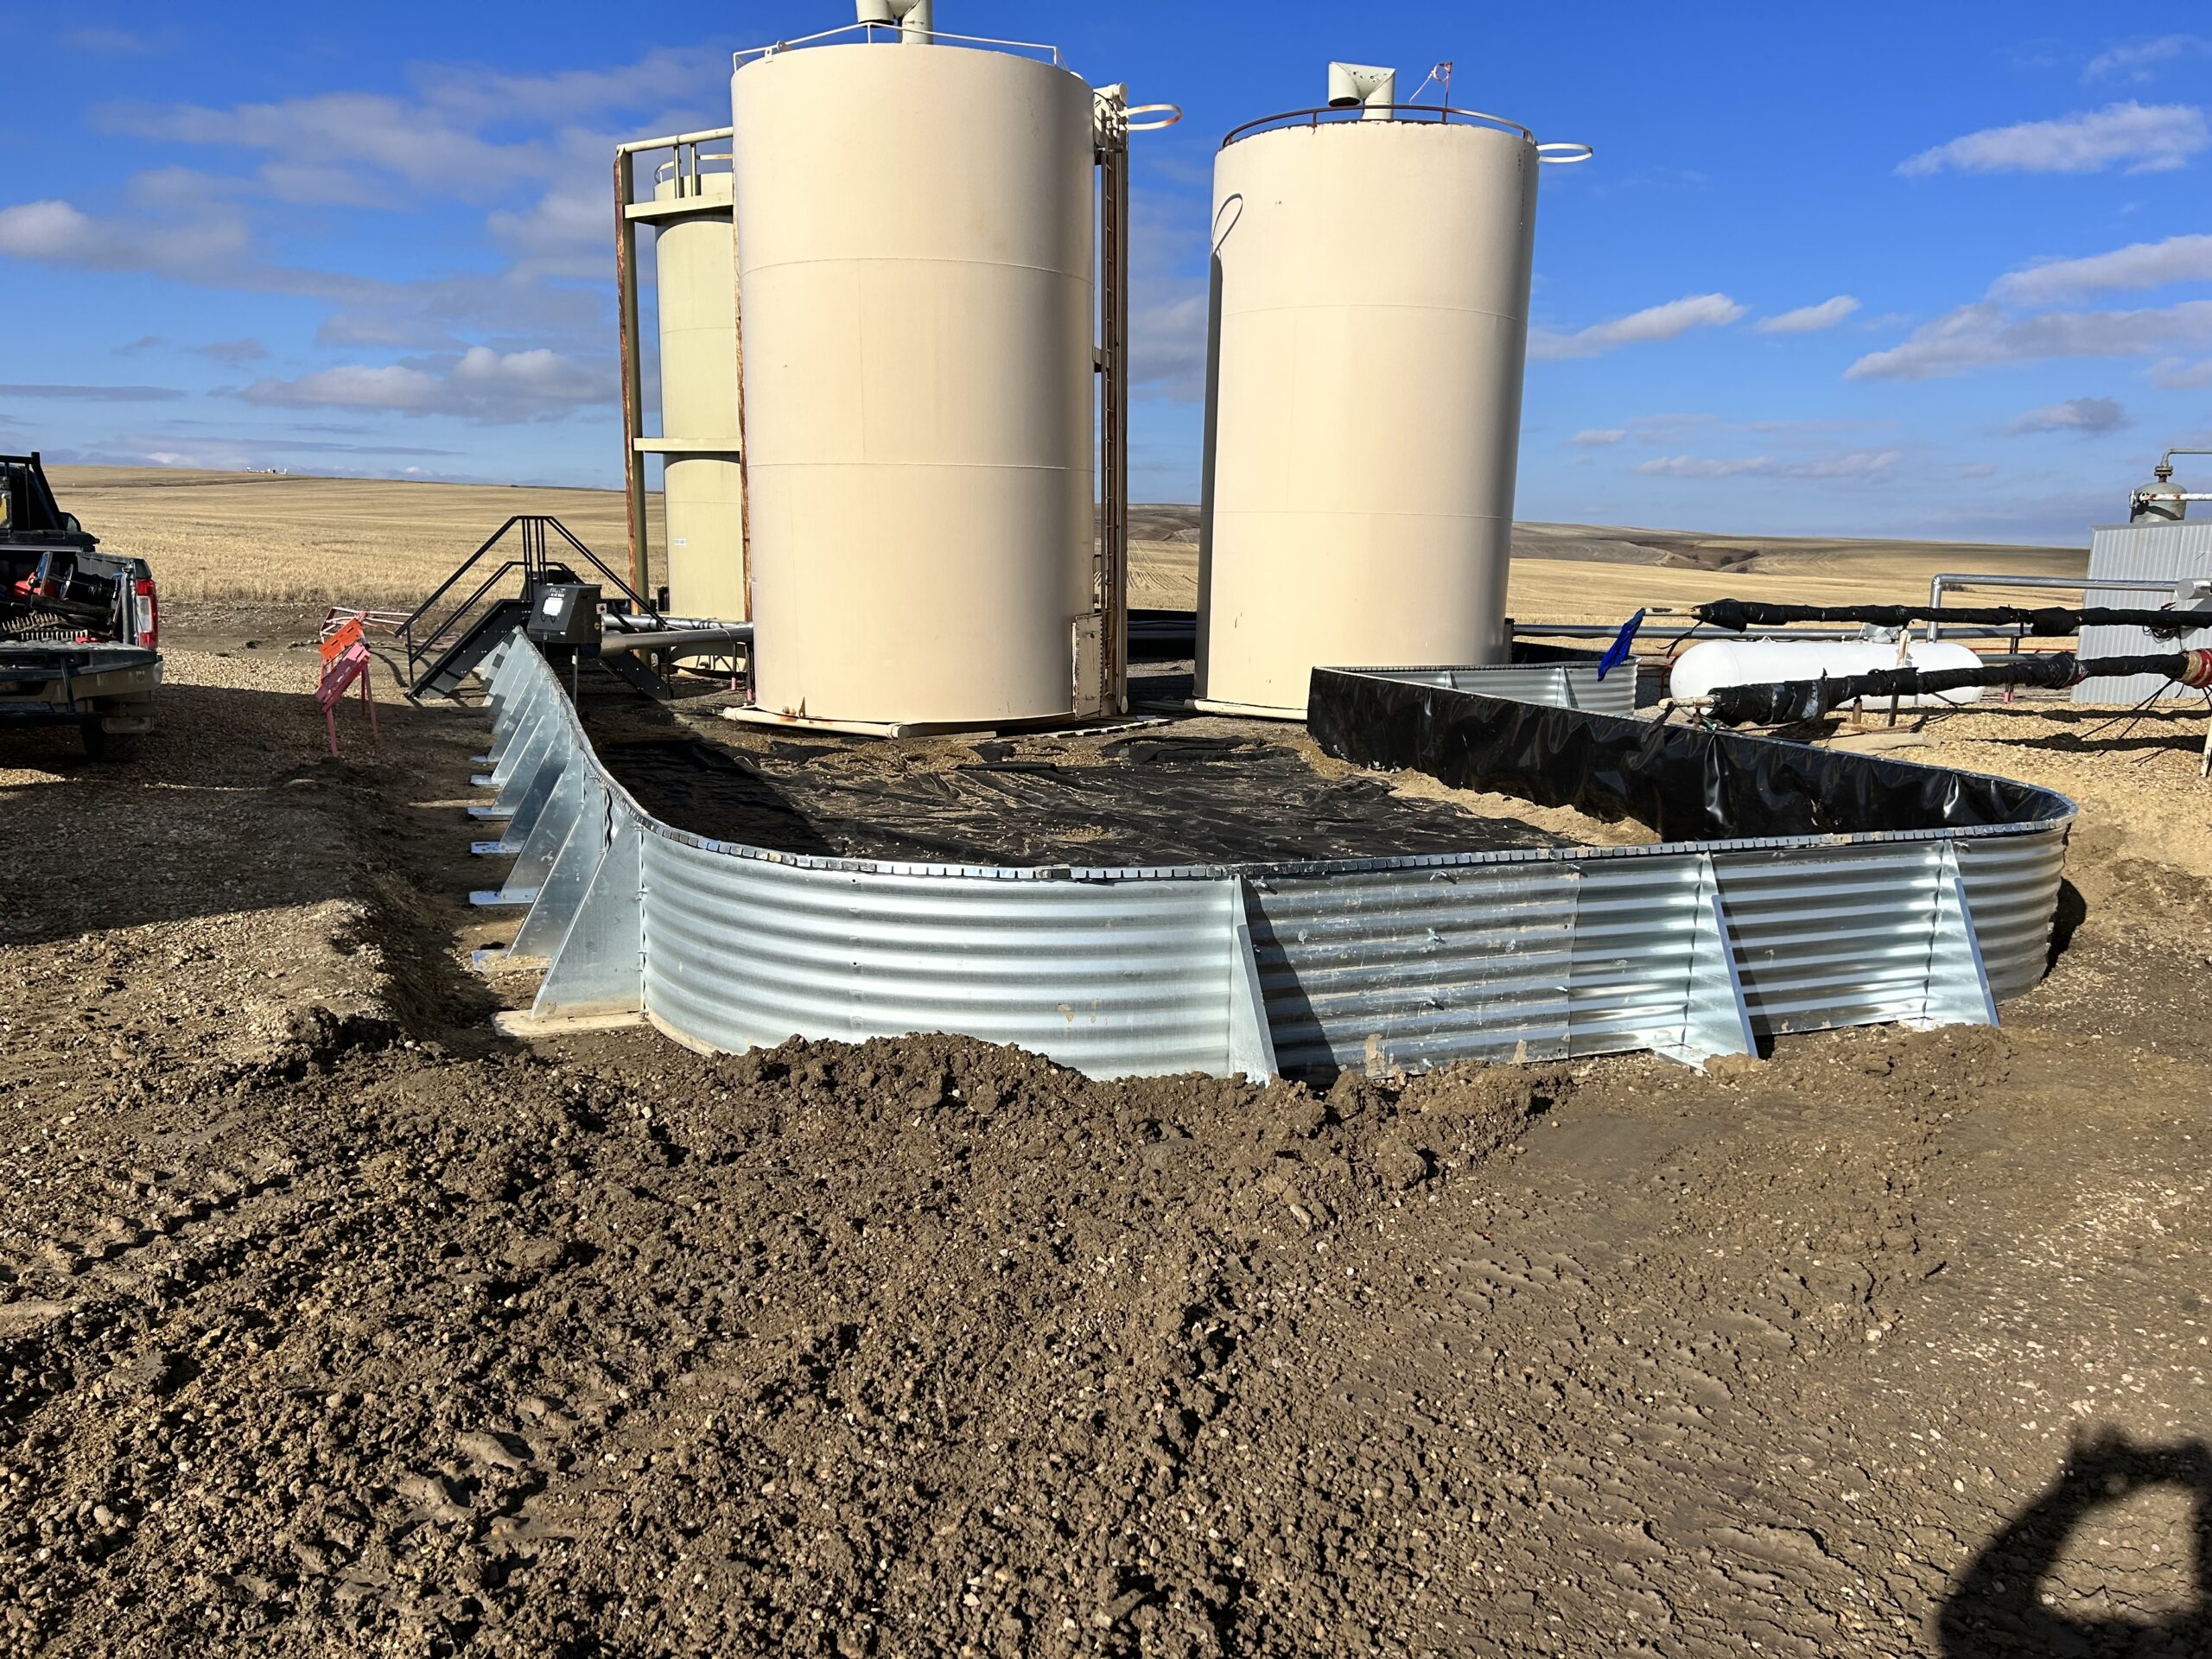
Oblong Systems: An oblong containment system has two round ends with straight panels in the middle. The round ends do not require bracing and the containment may be extended for as long as needed in the middle section. Oblong systems are ideal for 1 row of tanks.
Rounded Corner Systems: Usually configured in a square or rectangular shape a rounded corner system is best used for larger systems with 4 or more tanks, or where room for additional tanks may be required.
90° Systems: Seldom used square corner systems also known as 90° corner systems are best suited for small tank storage where space is limited. The 90° corners take less space than the rounded corners, these systems can be as small as 2m x 2m squares.
Each containment system includes wall panels made of 16 gauge corrugated steel. By offering 4 wall height our containment systems can accommodate a larger selection of volume and tank configurations. The higher the wall section the smaller the required footprint of the containment area. Higher walls allow you to meet the fluid storage guidelines while using fewer panels and liner material. The advantage of lower walls is the ability to step over the wall without using a ladder or stairs. The right wall height will be determined by the needs of each project.
Available Heights:
- 22″
- 33″
- 45″
- 55″
Locally made and professionally installed secondary containment.
Engineered zero ground disturbance containment walls combined with LLDPE liners provide a safe and reliable permanent solution for fluid storage in a variety of weather conditions.

Contact Information
Site Preparation and Installation
Preparation
Sub-Grade Preparation
Lining installation shall not proceed until a proper base has been prepared to accept the membrane lining. Base material shall be free from:
- Angular rocks
- Roots
- Grass
- Vegetation
- Other foreign matter
The base shall be level and or uniformly sloping as indicated on the drawings (as per design requirements). The base area must exceed containment dimensions by 1m around the entire containment system.
TCA Marketing Ltd. strongly recommends the use of a cushioned Geotextile on both sides of the liner to compensate for any irregular surface or lack of compliance with the above specifications.
Markings & Layout
- Using inverted paint mark out the diameter of the containment structure
- Rollout/unfold a base layer of Geotextile
- Rollout/unfold LLDPE liner
- Lay liner over any pilings or pipe penetrations
- Rollout/Unfold the second layer of Geotextile (where applicable)
- Fold in corners of liner and Geotextile
Assembly
Brace Assembly
Using nuts and bolts provided attach the brace to the plate by aligning the pre-cut holes in each piece. Once secure the brace and plate can be placed around the containment.
Steel Assembly
Lay sheets around containment perimeter
Bolt sheets together using fasteners provided
Attaching the Liner
Once the containment wall is securely fastened, unfold the liner and Geotextile. Lay extra liner over the lip of the wall and clamp in place. The liner must contact the wall at both the base and the top.
Using fasteners provided (10-16 x 3/4” Tech screw) attach the top clamp to the wall lip securing the liner in place between the two.
Once all top clamps are securely fastened trim off excess liner at the bottom of the top clamp. Lay down the top layer of Geotextile and add aggregate material as required by the drawings.
Pipe Penetration Boots
Following is the installation procedure for the installation of LLDPE pile boots within a secondary containment
system. These steps are applicable to the installation of boots using a 30mil or 40mil LLDPE liner.
- All piles shall be cut to elevation to eliminate any irregularities on the top of the pipe.
- The area around the piling shall be smooth and free of large obstructions and any snow shall be removed.
- A base layer of geotextile will be placed and cut around piling to eliminate bunching of the fabric under the boot
- Boot shall be placed on piling and cut to diameter to ensure a tight fit around the pipe. Care must be taken when cutting the boot for safety reasons as slips with a knife can cause injury.
- The boot will be pulled down the piling to the ground; boots cannot be elevated off the ground.
- The liner can now be deployed and cut around the pilings. The liner must be stretched into place to minimize wrinkles that will inhibit the welding process. The liner must be cut in a circular fashion around the pilings to allow for one continuous weld.
- Extrusion welder will be preheated to the following temperatures. Weld barrel 500 degrees to 520 degrees. Preheat 400 degrees, the preheat temperature may be less if summer conditions exist as too much heat will cause deformation of the liner.
- Liner will be heat tacked to the pile boot around the piling. The heat tack will ensure that there is no movement of the liner during the welding process.
- The liner shall be clean and dry around the weld area. Grinding may be necessary to remove soils and surface tension in the liner that has been installed prior to boot installation.
- Welder shall be purged prior to extrusion welding to ensure any cooled extrudate is removed
- Welding can begin. Welder die shall be kept on the center of overlap to ensure an equal amount of extrudate on both surfaces
- A consistent forward welding speed shall be maintained to ensure a smooth uniform bead.
- Weld shall be allowed to cool and a visual inspection will be performed. This may consist of a pick test to ensure proper bonding of the weld to the surfaces.
- The boot will be clamped to the piling using a stainless gear clamp. After the boot is clamped any excess material will be trimmed.
- A bead of polyurethane caulking will be applied above the clamp where the boot and piling meet.
